How to install Playwright MCP on Cursor

Playwright MCP turns Cursor into an active testing assistant that can run and observe real browser sessions. Set up Playwright MCP step by step to speed up test creation, debugging, and feedback loops with AI.

User

TestDino

Dec 24, 2025

How to install Playwright MCP on Cursor

In 2025, Cursor pushed AI beyond passive suggestions into real execution.

Instead of only writing code, AI agents can now run tools, inspect results, and respond in real time.

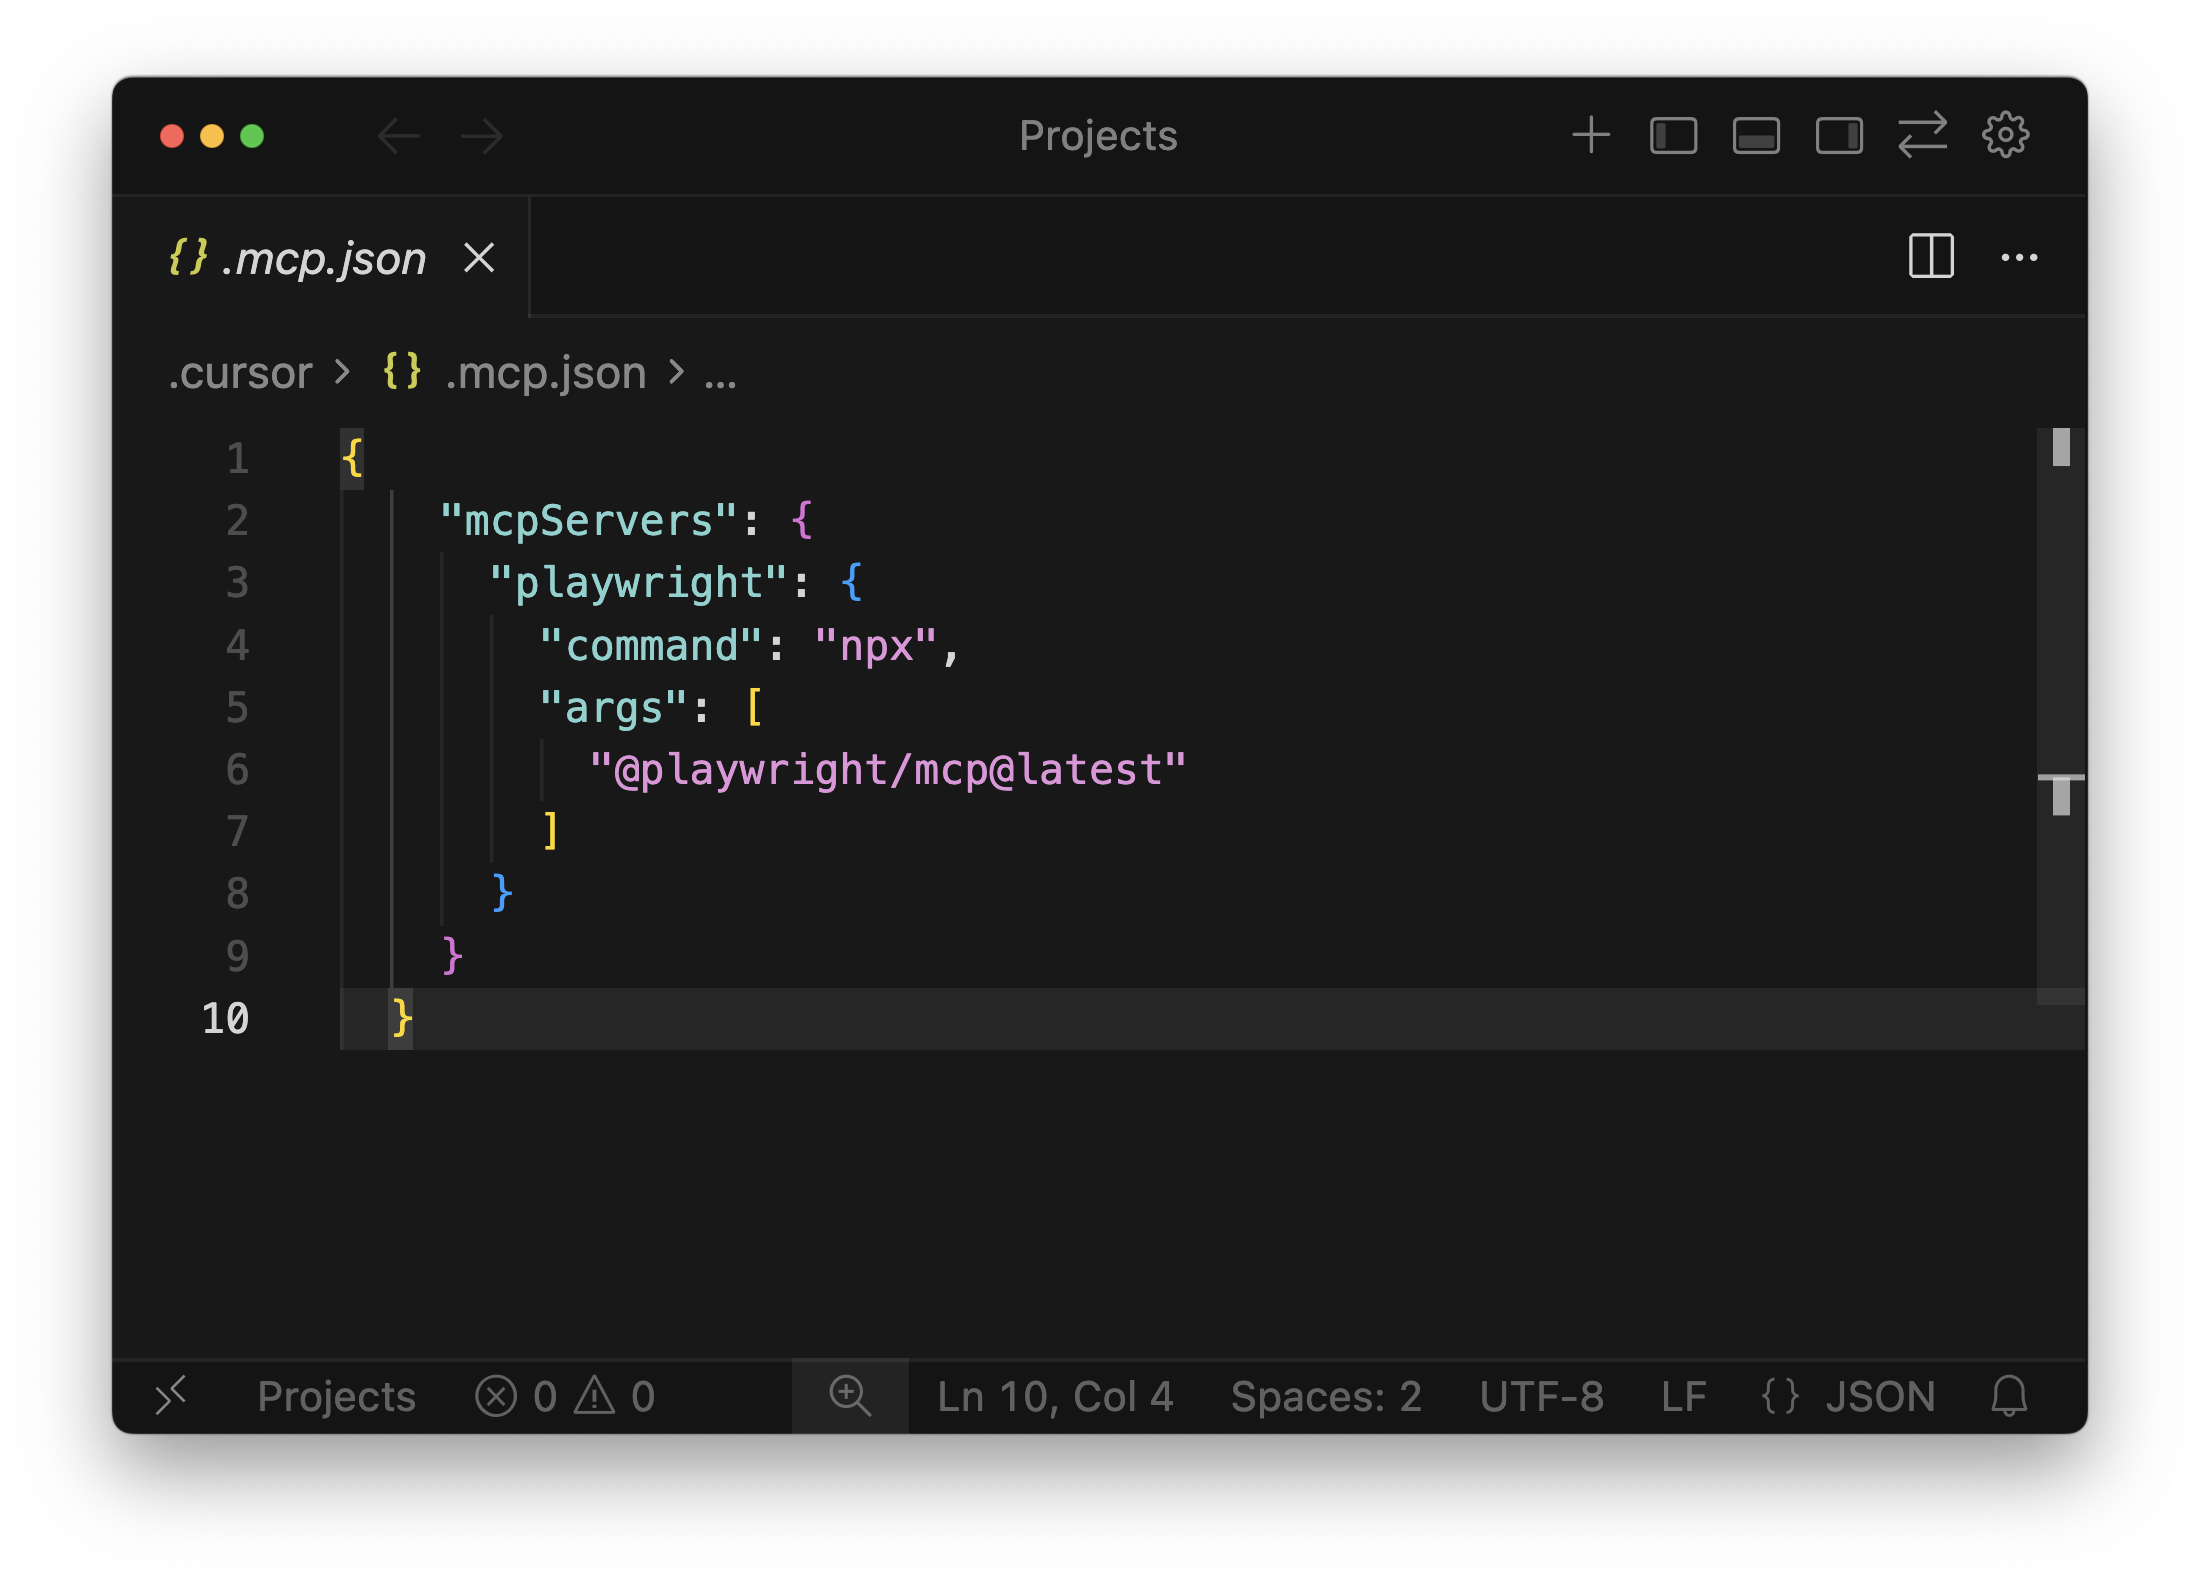
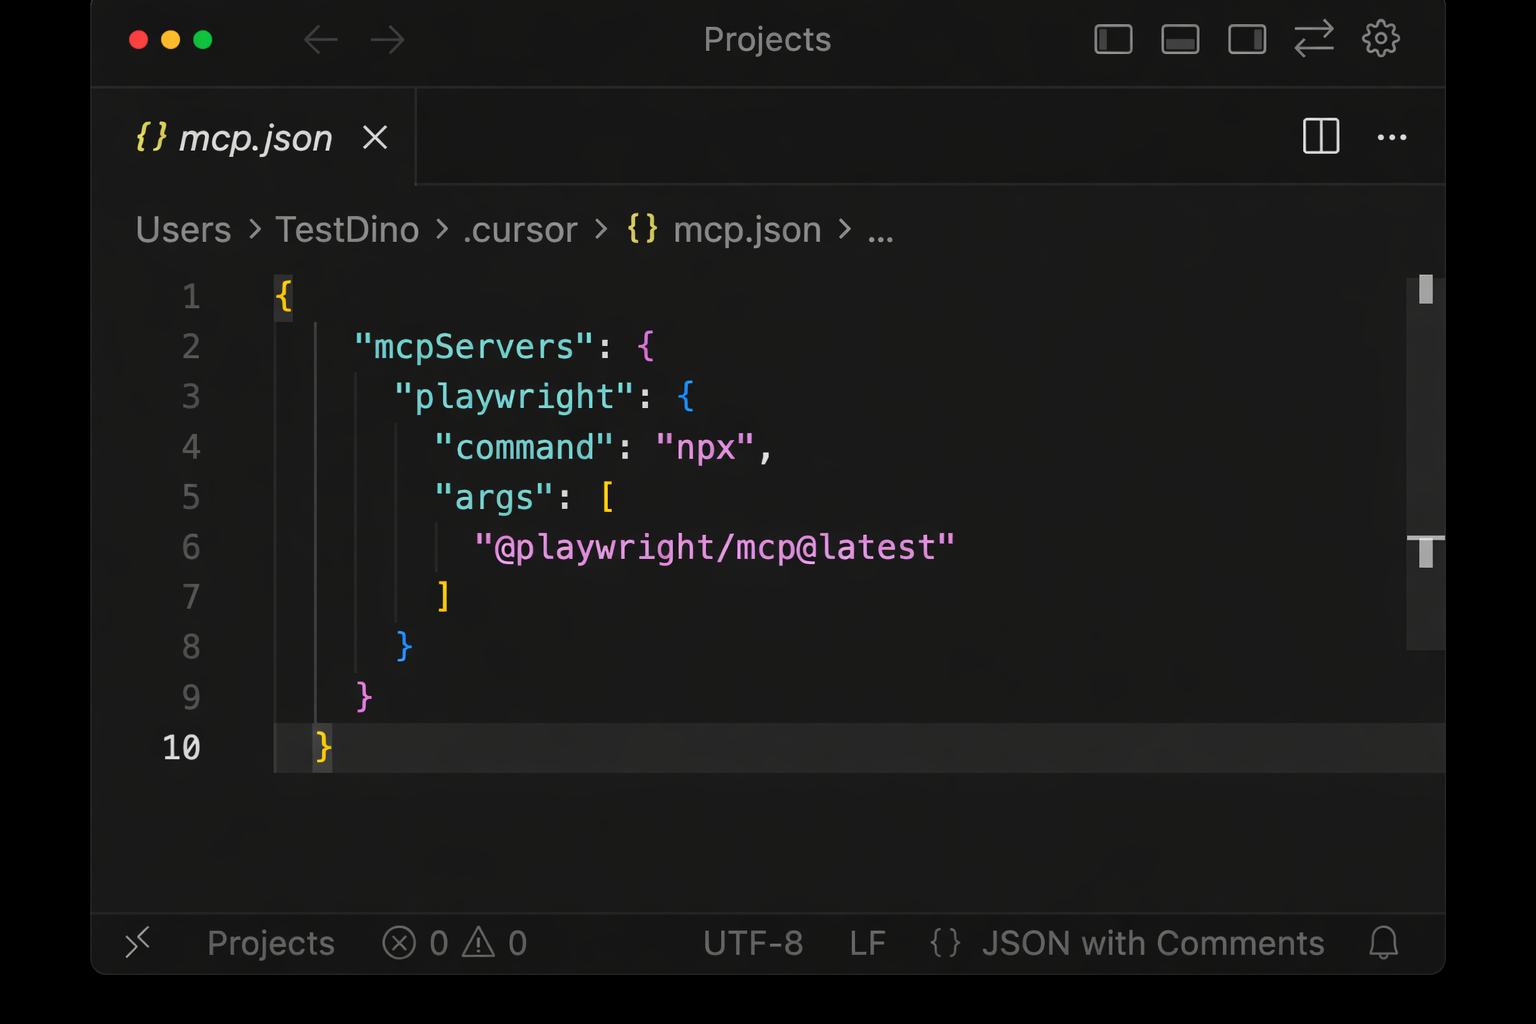
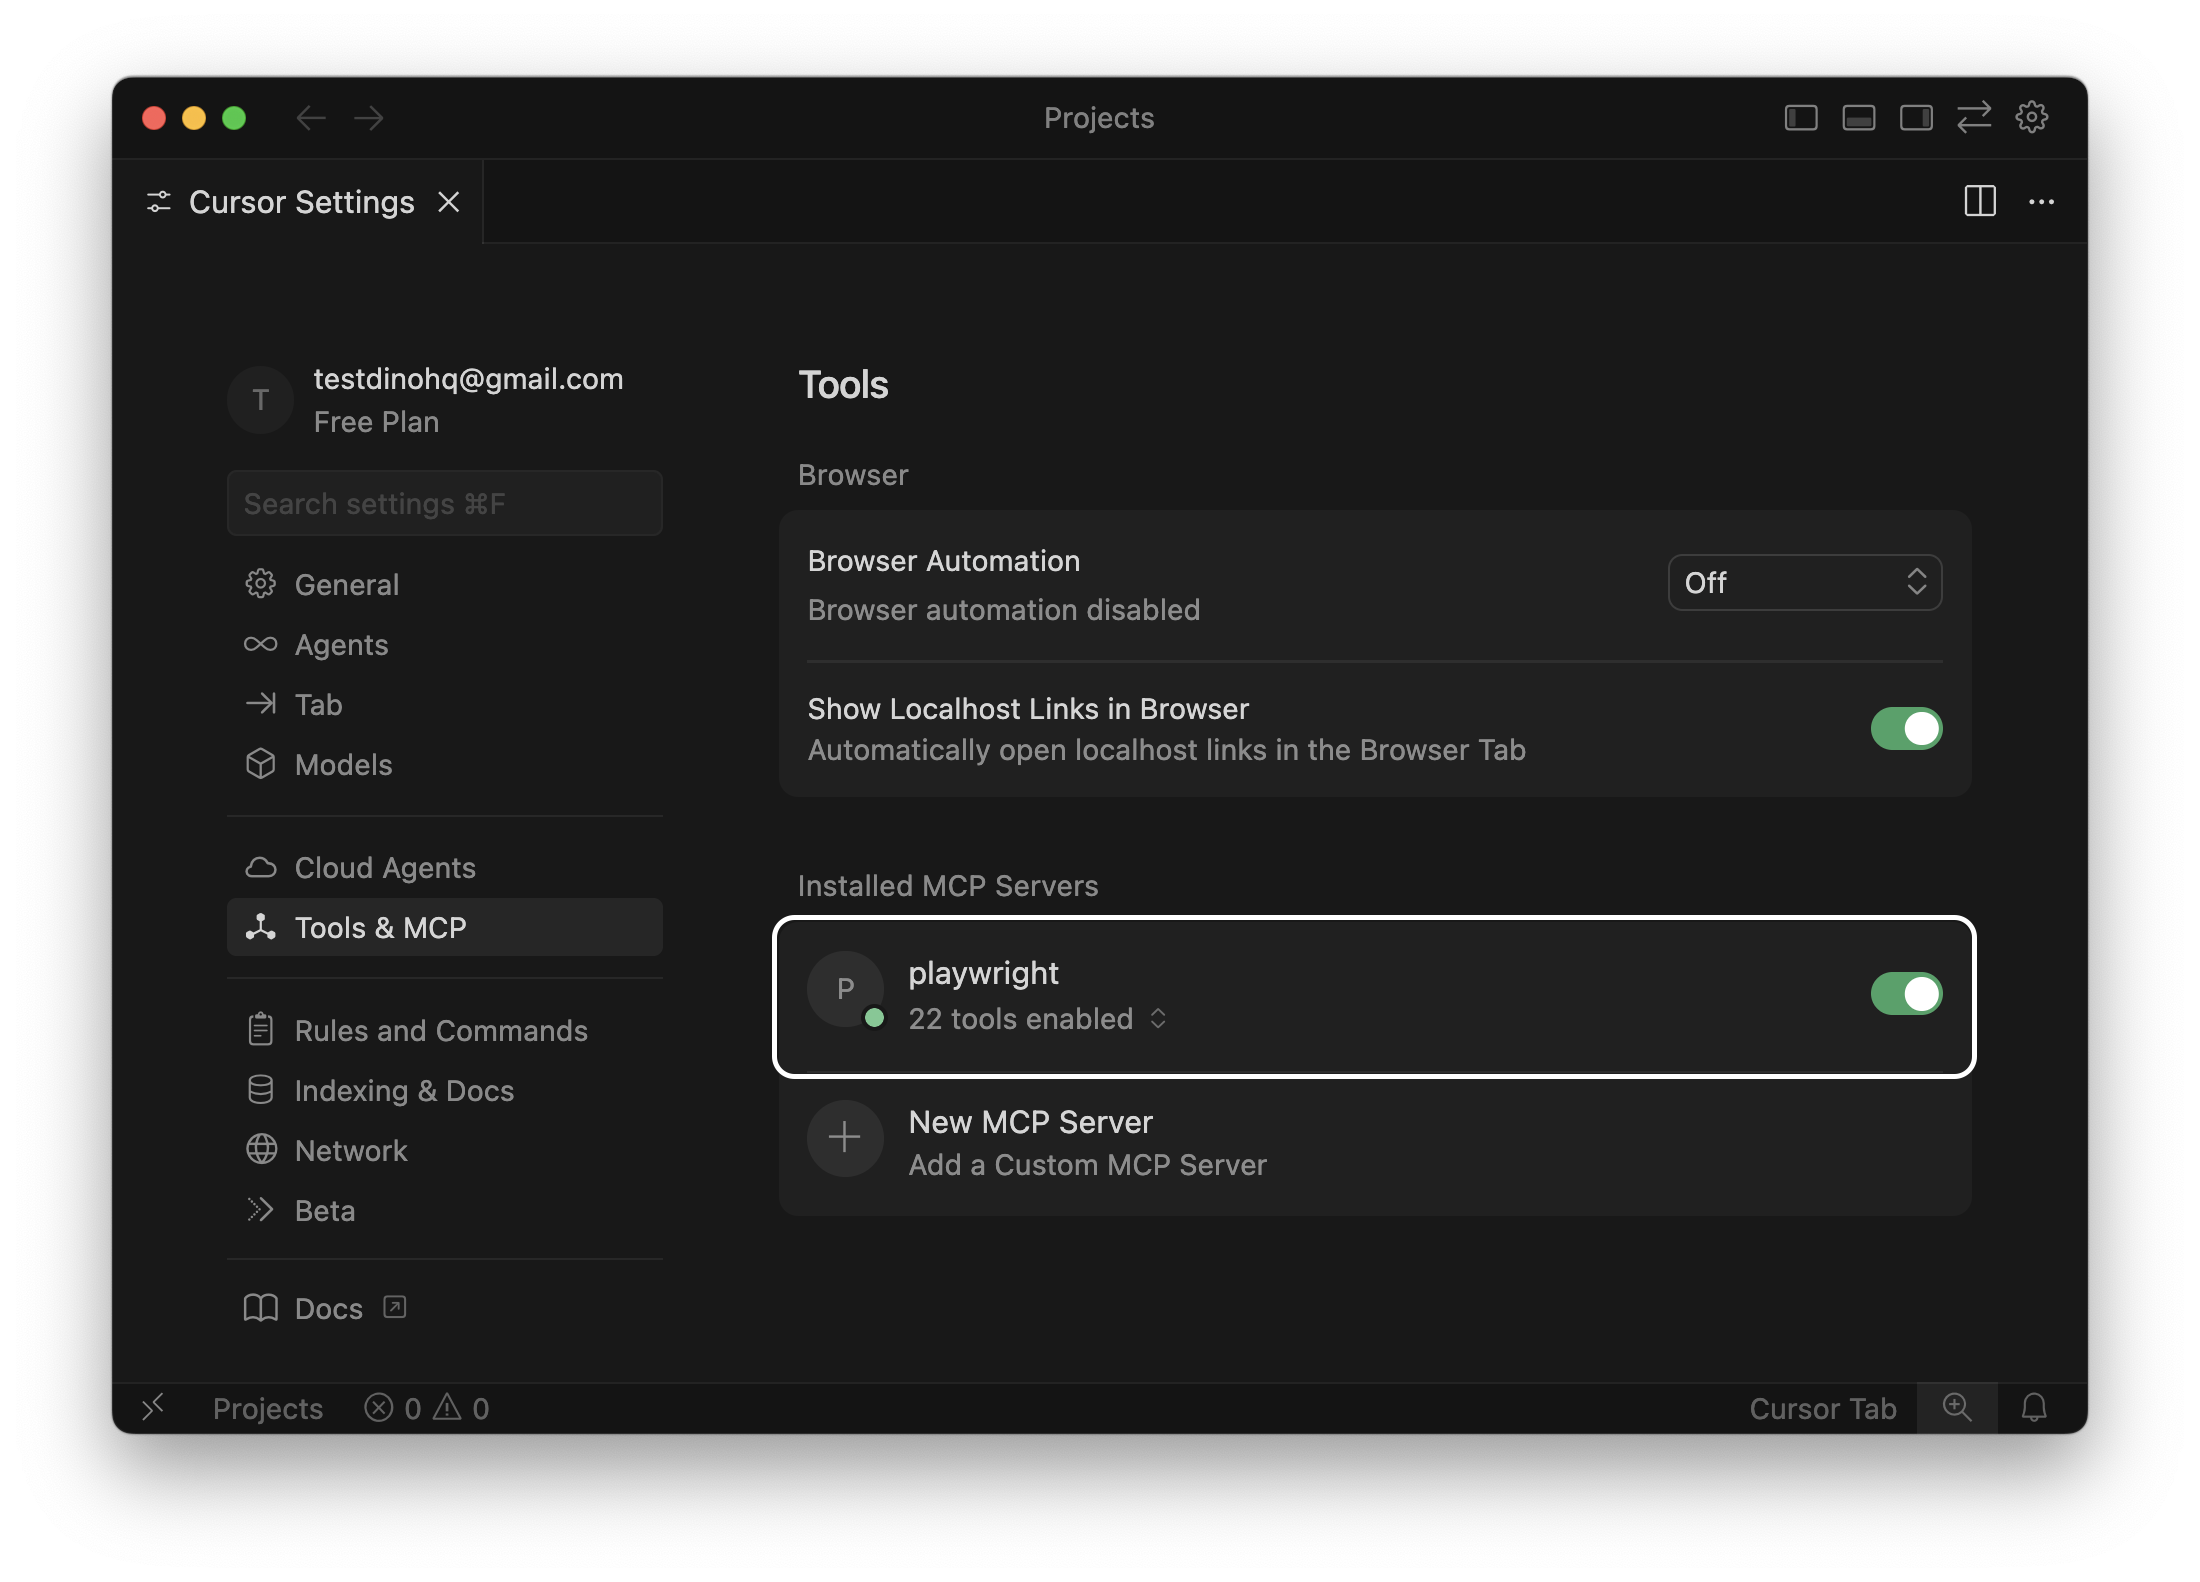
This shift matters most in test automation, where Playwright MCP enables AI to directly execute and observe Playwright runs.

Traditional Playwright workflows still force constant context switching between writing tests, running them, and debugging failures, slowing feedback and breaking scale.

TLDR

1. Install Node.js (18+ recommended).

2. Open Cursor → Settings → MCP (Model Context Protocol).

3. Add Playwright MCP as a local MCP server using npx.

4. Restart the Cursor to apply the configuration.

5. Verify the setup by running a real browser action (e.g., Ask Cursor to open a real browser session, navigate to testdino.com, and take a screenshot of the hero section as rendered.)

If you’d rather follow along visually, this video shows the entire setup process.

What is a Playwright?

Playwright is a browser automation framework created by Microsoft to support reliable end-to-end testing across Chromium, Firefox, and WebKit.

It provides stable selectors, auto-waiting, and real browser execution, while engineers still write and maintain the test logic.

That gap is where Playwright MCP comes in, enabling AI to observe execution and provide actionable, context-aware guidance.

What is Playwright MCP?

Playwright MCP is a Model Context Protocol server that connects AI agents to the Playwright test runner. It enables AI tools to execute, inspect, and debug real browser sessions through Playwright instead of only generating test code.

What is Cursor IDE?

Cursor editor welcome screen showing options to open a project, clone a repository, or connect via SSH.

Cursor is an AI-powered code editor designed to help developers write, understand, and modify code faster. It combines a traditional editor with built-in AI that can reason over your codebase and execute tasks directly from context.

Let’s start the Setup process.

How to Install Playwright MCP on Cursor

Before you begin, ensure Node.js and npm are installed and functioning correctly.

There are two ways to set up Playwright MCP in Cursor IDE, depending on how much control you want over the process.

Setup Type When to Choose
Quick Setup Fastest path. Auto-installs and configures Playwright MCP with default settings.
Manual Setup Step-by-step install and configuration. Use when you need customization or full control.

Method 1. Quick Playwright MCP Setup

For the fastest setup in Cursor, use the quick setup option.

Just hit the “Add Playwright MCP to Cursor” button.

That’s it. Done in seconds. You can skim to verify the installation

If the link gives you trouble or you’d rather do things yourself, check out this second method for a step-by-step guide.

Method 2. Manual Playwright MCP Setup

If you prefer more control or want to understand exactly how the integration works, follow the manual setup process below.

Step 1. Install MCP Server Package

Open the Cursor and run this command in the Cursor’s terminal to install Playwright MCP.

npm install @playwright/mcp --save-dev

The --save-dev flag adds Playwright MCP as a development dependency, since it is only needed during local testing and AI-assisted development, not in production builds.

Step 2. Update Cursor Configuration

Here you configure Cursor to launch the Playwright MCP server. You can apply it to the current project or globally across all projects.

Approach Overview
Project-Specific Configuration Keeps MCP settings inside the project (.cursor/mcp.json). Best for teams, repos with different tooling, or when configs should travel with the code.
Global Configuration Registers Playwright MCP once in the Cursor settings. Best when you want MCP available across all projects with no per-repo setup.

Approach A: Project Specific Configuration

This method keeps your configuration contained within your project directory, which is ideal for team environments or when you use different tools in different projects.

1. Locate the Configuration File: Inside the root of your project directory, create or navigate to the .cursor folder.

2. Create mcp.json: Create a file named mcp.json inside the .cursor folder. Your project structure should look like this.

file structure
your-project/ ├── .cursor/ │ └── mcp.json ├── tests/ └── package.json

3. Add the Configuration: Paste the following JSON structure into the file.

.cursor/.mcp.json file, configuring the Playwright MCP server using npx in Cursor.
mcp.json
// Add this to the mcp.json file { "mcpServers": { "playwright": { "command": "npx", "args": [ "@playwright/mcp@latest" ] } } }

This tells Cursor to execute the installed Playwright MCP server using npx.

Approach B: Global configuration

This approach registers the Playwright MCP tool directly within Cursor's general settings.

1. Open Cursor Settings.

2. Navigate to Tools & MCP tab.

Cursor editor Tools and MCP settings showing no MCP servers installed with the Add Custom MCP option.

3. Add a New Server. Click “Add Custom MCP”, then just paste the JSON payload straight into the box.

mcp.json configuration file in Cursor showing Playwright MCP server setup using npx.
mcp.config.json
{ "mcpServers": { "playwright": { "command": "npx", "args": [ "@playwright/mcp@latest" ] } } }

Step 3. Restart & Verify Connection

Now, let’s verify integration.

  • Open Cursor Settings.
  • Go to Tools & MCP.
  • Confirm that Playwright MCP appears in the list.
Cursor editor settings showing Playwright MCP installed with multiple tools enabled under Tools and MCP.

If it’s listed, the configuration is working.

Step 4. Run a Real Browser Automation Example

You can validate the connection by running a full login flow on app.testdino.com with screenshots and logout.

Use the Cursor chat panel and run a prompt like this:

prompt
Open app.testdino.com, log in using the email [email protected], capture a screenshot after login, log out, and capture another screenshot. Then generate the correct Playwright test script for this flow.

Expected output

  • Cursor opens app.testdino.com in a real browser
  • Logs in using [email protected]
  • Captures a screenshot after login
  • Logs out of the application
  • Captures a screenshot after logout
  • Generates a ready-to-use Playwright test script for the entire flow

Once your setup is validated and stable, you can move beyond basic navigation and explore advanced Playwright MCP workflows like multi-page flows, conditional actions, and data-driven testing.

Common Issues and Troubleshooting

Take a look at this troubleshooting guide. It’ll help you fix common issues that may occur while installing Playwright MCP in Cursor.

Issue What You’ll See How to Fix It
MCP not detected No tools listed or MCP server fails to register Restart Cursor, validate .cursor/mcp.json syntax, check Settings → MCP, or manually run npx @playwright/mcp@latest
Invalid command or paths “Command not found” or path-related errors Install globally with npm i -g @playwright/mcp@latest, use a project-level config file, and prefer absolute paths in .cursor/mcp.json.
Port conflict Error indicating a port is already in use Change the MCP port or stop conflicting processes, then restart Cursor.

Conclusion

The setup is complete. It’s time to activate the AI and have the tests written directly into the editor for a massive efficiency increase.

Suddenly, you’re not wasting hours setting things up, jumping between apps, or playing hide-and-seek with bugs.

Add in neat test reports and smarter ways to figure out what went wrong, like what TestDino brings to the table, and getting feedback becomes way faster and a lot less confusing.

Want the full setup walkthrough? I've documented everything in my complete Playwright MCP guide from installation to advanced workflows.

FAQs

If you are running large regression suites or performance-sensitive test runs, MCP adds unnecessary overhead. Its strength is interactive development and debugging, not bulk execution.

Get started fast

Step-by-step guides, real-world examples, and proven strategies to maximize your test reporting success

Stop wasting time on
flaky tests broken builds re-run roulette false failures

Get Started