How to install Playwright MCP on VS Code
This guide explains how to install and configure Playwright MCP on Visual Studio Code and connect it with GitHub Copilot. Learn how AI agents can access live browser context to generate, debug, and optimize Playwright tests faster with real DOM and runtime insights.


Writing and maintaining automated tests often means dealing with repetitive code and unreliable failures.
Playwright MCP enables AI agents in your IDE to work with your application’s live DOM, network activity, and runtime state. This allows you to generate tests for specific UI elements directly from context instead of manual scripting.
This guide walks through setting up the integration with GitHub Copilot and explains how to use it to improve test creation and execution workflows.
Before you begin, it’s useful to understand the core tools involved.
What is a Playwright?
Playwright is a modern browser automation framework developed by Microsoft for automation and testing real user interactions across Chromium, Firefox, and WebKit from a single codebase.
It improves reliability through features like auto-waiting and stable selectors, while engineers remain fully responsible for writing, structuring, and maintaining the test logic.
This is exactly where Playwright MCP becomes useful.
With the fundamentals clear, let’s move on to installing Playwright MCP and wiring it into your development environment.
What is VS Code?
Visual Studio Code is a free, open-source code editor developed by Microsoft to provide developers with essential development tools without the overhead of a full integrated development environment.
It was designed to balance speed and capability, offering built-in debugging, Git integration, and language support while remaining lightweight, fast to start, and highly customizable through extensions.
How to install Playwright MCP on VS Code
Let's verify you have what you need. Make sure you have these requirements in place.
Choose the method that fits your needs. The Quick Install method lets you one-click MCP setup, while Manual Setup gives you more control over configuration.
You can also follow along with a detailed video setup guide already created by Debbie Codes, which shows these steps in action.
A. Quick Installs
For the fastest setup, follow this approach.
Option-1: One Click Setup
- Just click the "Add Playwright MCP to VS Code" button. It'll open the extension directly in your VS Code marketplace.
- Hit Install, and you're done in under 30 seconds.
Option-2: Command Line
Just open up your VS Code terminal and paste this line in it.
code --add-mcp '{"name":"playwright","command":"npx","args":["@microsoft/mcp-server-playwright"]}'
If you want to skip the command and configure everything yourself, you can set up Playwright MCP manually instead.
B. Manual Setup
If you prefer more control over your setup or need to configure MCP for a specific project, manual configuration is the way to go.
It only takes a minute and gives you flexibility in how Playwright MCP runs in your workspace.
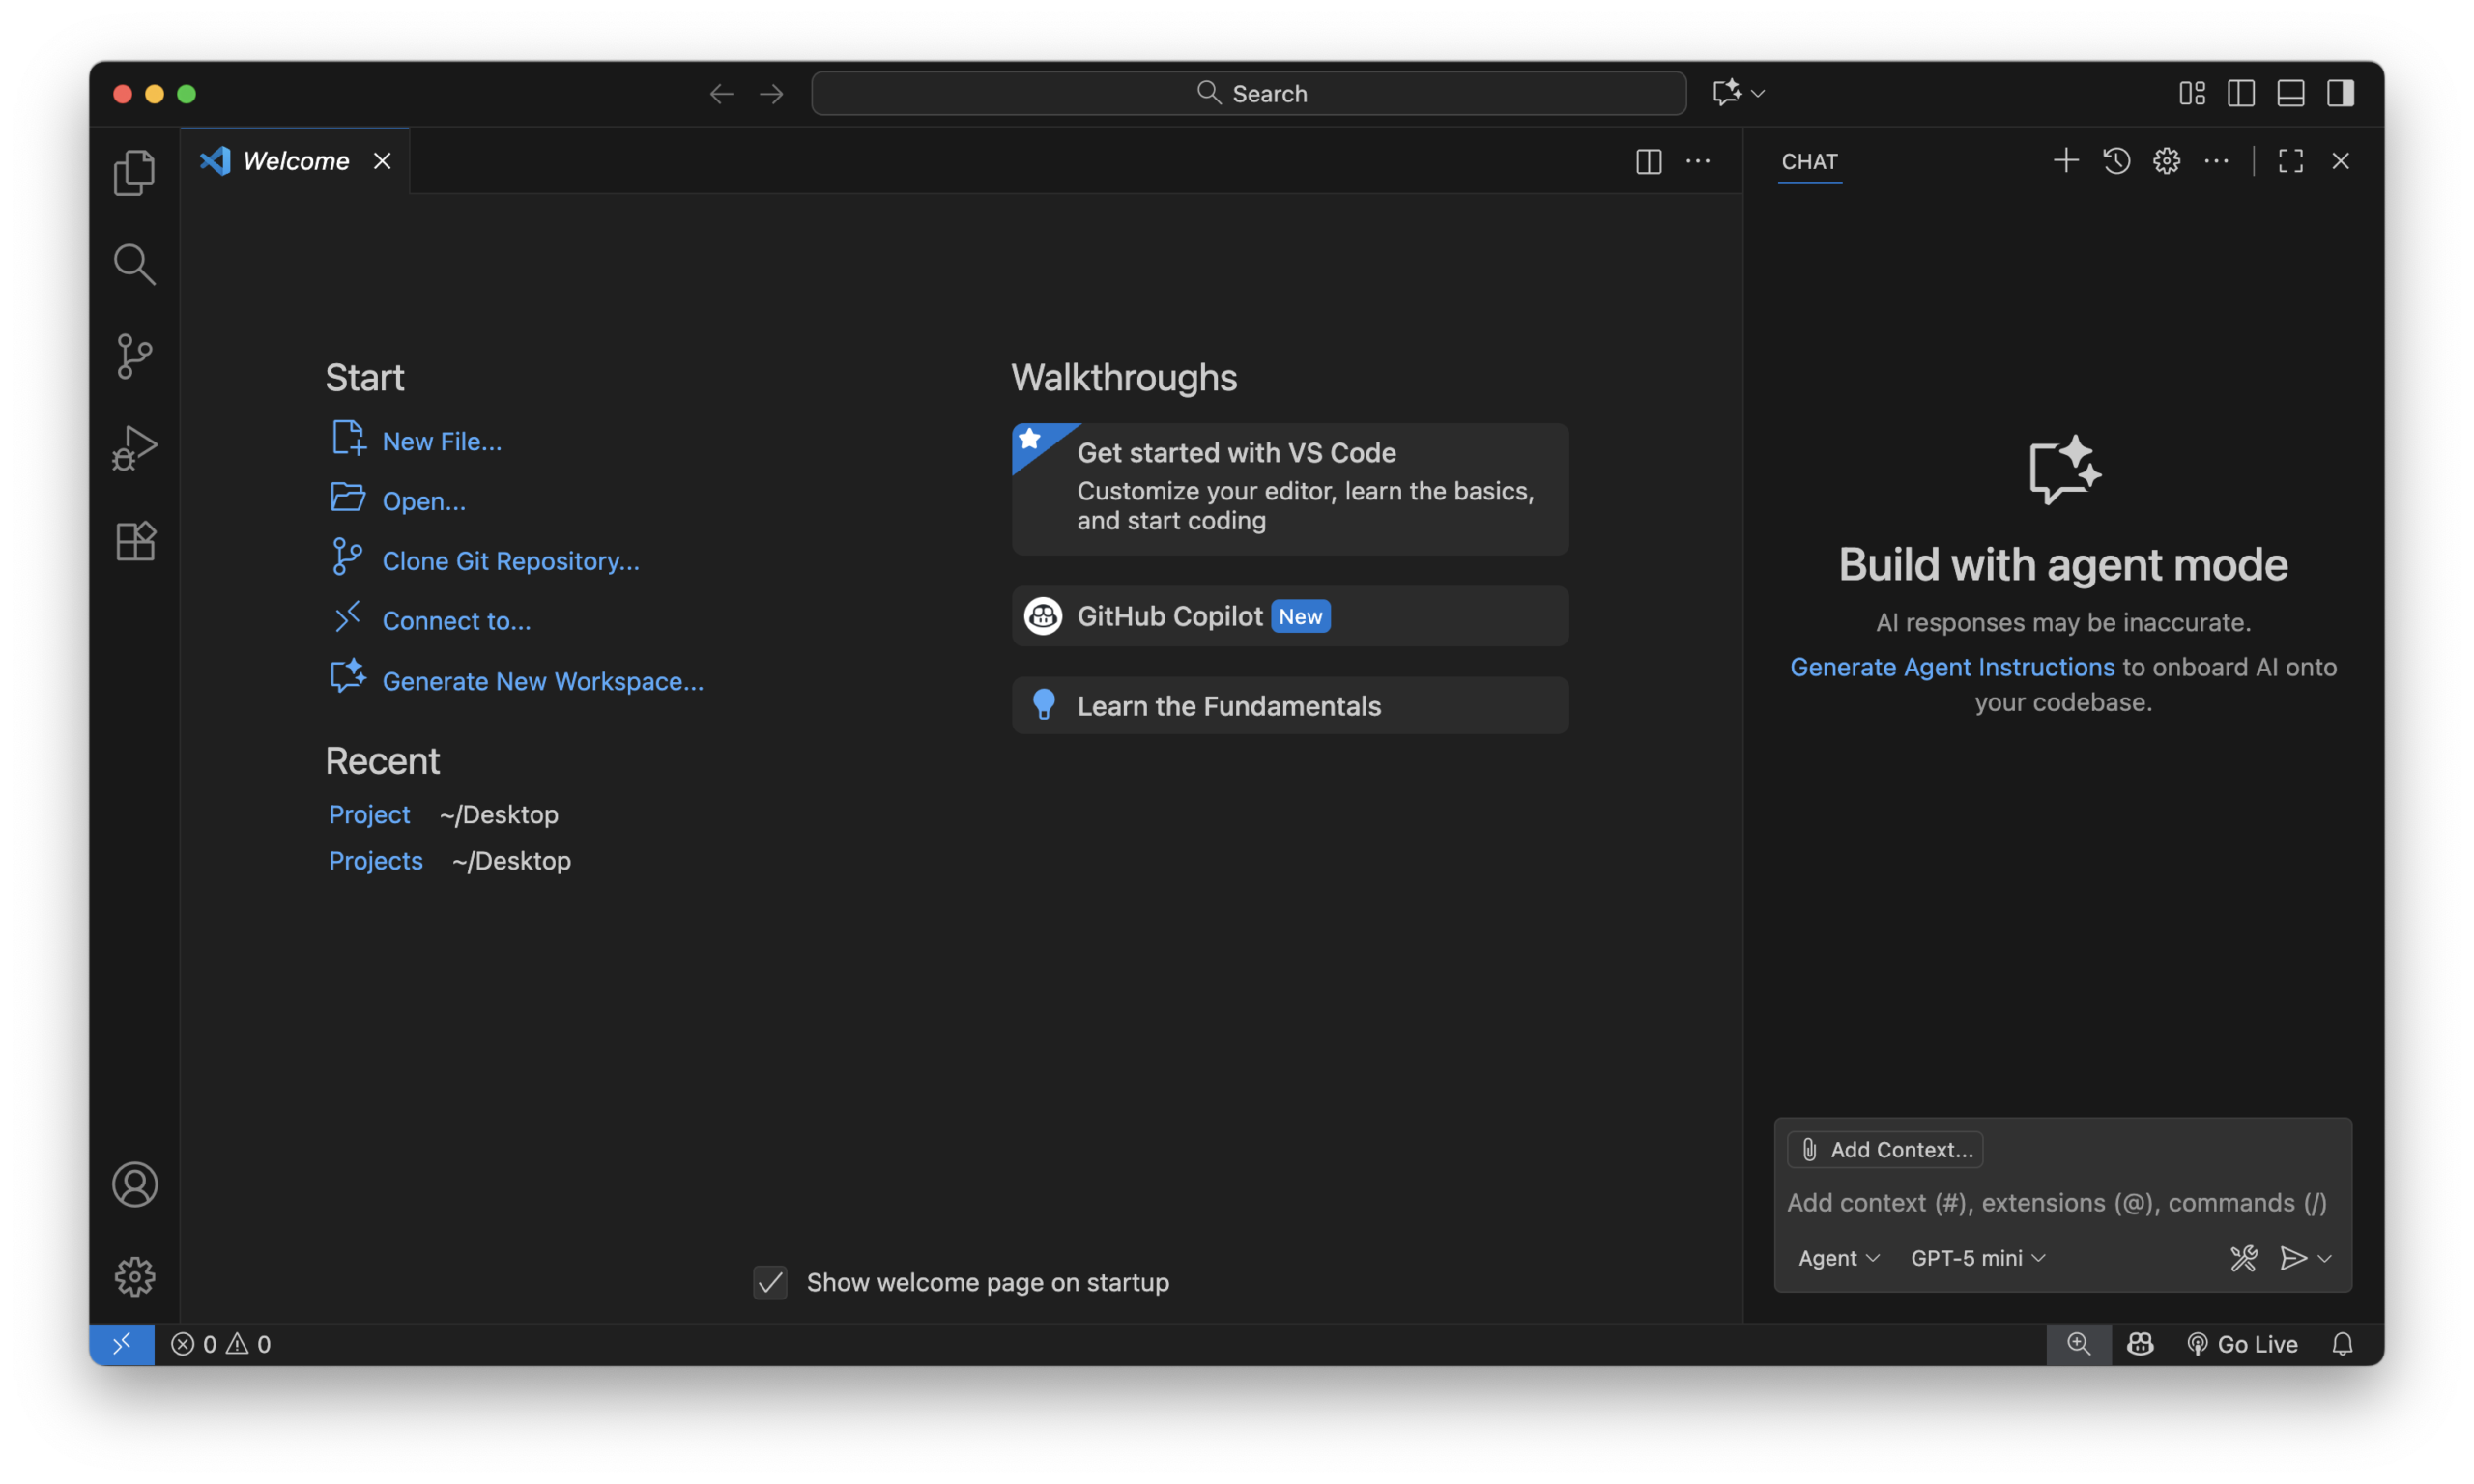
Open VS Code to start the setup process.
1. Project Specific Configuration
For project-specific setup, you'll need to create a configuration file in your project's .vscode folder.
If the folder doesn't exist yet, go ahead and create it.
Then add a file named mcp.json with the following configuration:

{
  "mcpServers": {
    "playwright": {
      "command": "npx",
      "args": [
        "@playwright/mcp@latest"
      ]
    }
  }
}
Once you've saved the file, your project structure should look something like this,
your-project/
├── .vscode/
│ └── mcp.json
├── tests/
└── package.json
With this setup in place, Playwright MCP will be available whenever you open this specific project in VS Code. This approach is instrumental when different projects need different MCP configurations or versions.
2. Global Configuration Setup
For global setup, follow the step-by-step process below to configure Playwright MCP once and make it available across all Visual Studio Code projects.
- Open the Command Palette in Visual Studio Code, search for “MCP: Add Server”, and press Enter.
- Select the NPM Package when prompted.
- Search for
@playwright/mcpand confirm. - Click Allow if VS Code asks for permission.
- Accept or rename the server ID, then press Enter.
- Choose Global to enable Playwright MCP across all projects.
- Let’s connect Playwright MCP with GitHub Copilot
Connecting with GitHub Copilot
First, understand GitHub Copilot and why it matters.
Now let’s see what changes when Copilot gains real browser context through Playwright MCP.
| Feature | Copilot | Copilot + Playwright MCP |
|---|---|---|
| Selector suggestions | Generic code suggestions | Accurate, targets existing elements |
| Sample code | Boilerplate needing edits | Working code for actual page elements |
| Debugging advice | Generic advice with zero context | Context-aware, accurate advice |
| Test writing | Feels like teaching from scratch | Understands app structure, suggests working tests immediately |
How to Connect in 3 Quick Steps
- Open Copilot chat by clicking the Copilot icon in your VS Code sidebar.
- Go to settings in the chat, find MCP servers, and switch Playwright on.
- Ask Copilot questions like, “Write a test for the login form”.
That’s all it takes. Now you’ve got Copilot offering smart, context-aware testing help right where you need it.
Now, let’s verify that Playwright MCP is correctly integrated with Claude Code.
Verify Your Setup with Example
Let's make sure everything's working properly or not step by step.
- Open your AI client connected via MCP, such as Claude Desktop or Copilot Chat.
- Enter a prompt that requires live browser control, for example:
"Open https://app.testdino.com in a real browser session and log in using[email protected]with the provided test password. Verify the dashboard loads, capture a screenshot, then log out and capture another screenshot. Generate a complete Playwright test that reproduces this login–logout flow exactly as executed." - Observe the behavior.

Simple, but effective for our verification purposes.
Expected Output:
- A real browser opens and navigates to https://app.testdino.com
- Logs in with
[email protected]and the test password - Dashboard loads successfully
- Captures a screenshot after login
- Logs out and captures a screenshot after logout
If the browser does not launch or the response is not based on live page data, review the common issues and fixes below.
Common Errors and Troubleshooting
If MCP is not behaving as expected, the table below lists the most common issues you may encounter and how to fix them quickly.
| Issue | Meaning | Quick Fix |
|---|---|---|
| "MCP not detected" error | VS Code cannot connect to the MCP server | Restart VS Code, ensure MCP is installed and running |
| Extension conflicts | Another extension blocks the MCP or its port | Disable other test extensions and restart VS Code |
| Node.js version mismatch | Node.js version is too old | Run node --version and upgrade to Node 18 |
| Port/permission issues | MCP cannot bind to the default port | Check port usage and stop the conflicting process |
Conclusion
Now that Playwright MCP is installed and connected to Copilot, writing tests becomes much faster and more accurate.
Copilot can inspect your live application in real time, providing precise, ready-to-run code suggestions instead of generic boilerplate.
With this setup, creating and debugging Playwright tests is more efficient and less error-prone.
For managing results, reporting, and analytics at scale, tools like TestDino can help you track and visualize your test outcomes seamlessly.
FAQs
Table of content
Flaky tests killing your velocity?
TestDino auto-detects flakiness, categorizes root causes, tracks patterns over time.
Follow Us