Playwright 1.62: The Isolated Retries Release
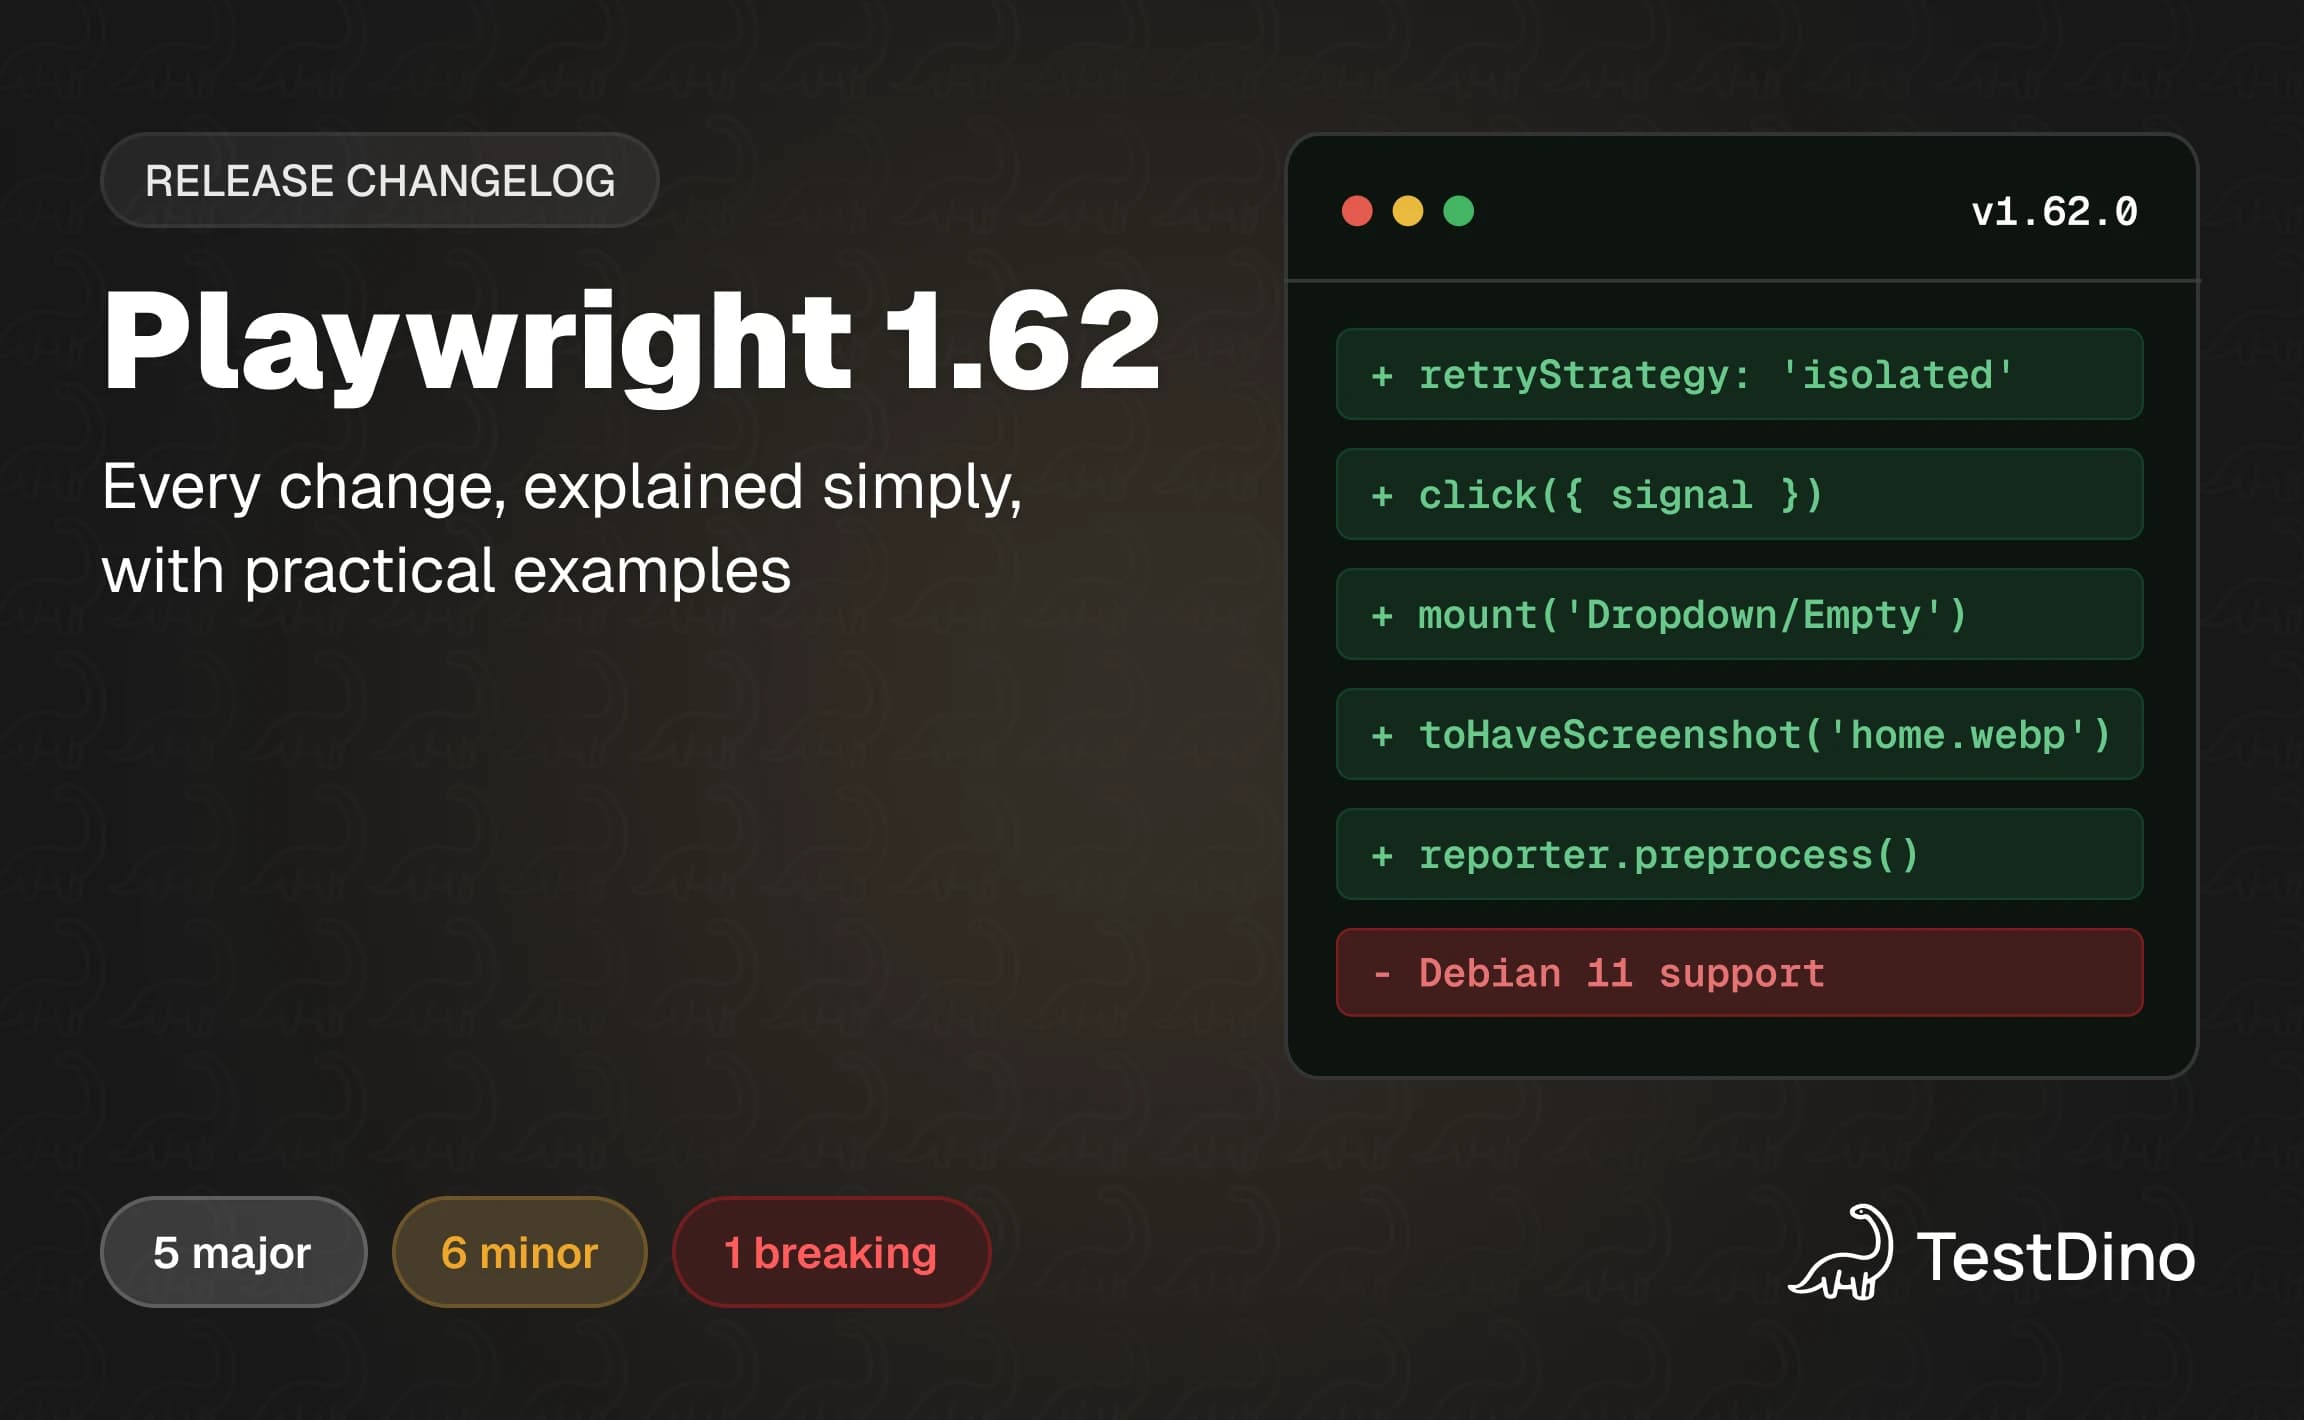
Playwright 1.62 ships 5 major and 6 minor features. We’ve simplified the release so you can understand what changed, what broke, with a practical example for every new and changed API.
Playwright ships a new version roughly every month, and the official release notes are written for people who already live in the changelog.
This guide translates Playwright 1.62 into plain language: what each feature actually does, the problem it solves, and code you can paste into your suite today. If you only have 30 seconds, the summary below covers everything.
⚠️ One breaking change: Debian 11 is no longer supported. If your CI uses a Bullseye base image, update it before upgrading. Everything else is additive.
1. Isolated retries
The Problem
You have a test that fails, then passes on retry. Was it fixed? No. It probably passed because by the time the retry ran, other tests had finished and your machine was under less load. The retry did not prove anything.
What 1.62 Does
A new retryStrategy config option. Set it to 'isolated' and all retries wait until the whole suite is done, then run one at a time in a single worker with nothing else competing for CPU.
Example
export default defineConfig({
  retries: 2,
  retryStrategy: 'isolated',  // default is 'immediate'
});
Why this matters: if a test fails during the run but passes isolated, the test is fine and your suite has a resource problem (too many workers, heavy parallel tests). If it fails even isolated, it is a genuine bug. One config line separates the two. And if you want this pattern tracked across every CI run automatically, instead of eyeballing it, that is exactly what TestDino does with your Playwright results.
2. Cancel any action with AbortSignal
The Problem
Once you call click() or expect().toBeVisible(), you are stuck waiting for it to succeed or time out. There was no clean way to say "actually, stop waiting" based on something else happening. For example: you are waiting for a "Payment successful" message, but an error popup appears instead. Your test still sits there for the full 30-second timeout before failing, even though you already know it failed.
What 1.62 Does
Important: Playwright does not detect the error on its own. You set up two waits running at the same time and connect them. Here is the whole mechanism:
- You create a "stop button" (an AbortController). This is a virtual button that exists only in your code, nothing appears on the UI. It does nothing by itself, it just sits there waiting to be pressed.
- You start a background watcher: "wait for the error popup". Note there is no await on it, so the test does not stop here. It keeps watching silently while the test moves on.
- You tell the watcher what to do if it finds the popup: press the stop button (controller.abort()).
- Your main wait runs as usual: "expect Payment successful to be visible". The only new thing is you hand it the stop button via signal.
- Now one of two things happens. Success message appears: the assertion passes, the watcher is simply never triggered, test continues. Error popup appears: the watcher fires, presses the stop button, and the success wait ends immediately instead of running out its 30-second timeout.
So the new thing in 1.62 is only step 4: waits and actions can now accept a stop button. Steps 1 to 3 are plain JavaScript you could always write, but before 1.62 there was nothing to press the stop button on.
Example
Stop waiting for "Payment successful" when an error popup shows up
// Step 1: create the stop button
const controller = new AbortController();

// Steps 2 + 3: background watcher (no await!), if the error
// popup ever appears, press the stop button
page.getByRole('dialog', { name: 'Payment failed' })
  .waitFor()
  .then(() => controller.abort());

// Step 4: the main wait, now carrying the stop button
await expect(page.getByText('Payment successful'))
  .toBeVisible({ signal: controller.signal });
Before 1.62: The error popup appears at second 2, but your test still waits until second 30, then fails with a confusing timeout message. With 1.62: the wait stops at second 2, and your test fails immediately with the real reason. Faster runs, clearer failures.

Why this matters at scale: Playwright's default test timeout is 30 seconds. Say you have 500 automated tests and one app change breaks 100 of them. Each of those 100 failures burns the full timeout just waiting: 100 × 30s = 50 minutes of pure waiting per CI run, on every run until the fix lands. That is slower feedback for the whole team plus real CI minutes on your bill. With early cancel, those same failures surface in seconds.
Good to know: the normal timeout still applies on top of the signal. Pass timeout: 0 if you want the stop button to be the only thing that can end the wait.
3. Component testing: stories and galleries
First, What is component testing?
Your app is built from small UI pieces called components: a dropdown, a date picker, a search box. Component testing means testing one of these pieces alone, without launching the whole app. Why bother?
- Speed: no login, no navigation, no database. The component renders in milliseconds.
- Coverage: you can test states that are hard to reach in the real app, like "dropdown with 0 items" or "date picker with an expired date".
- Precise failures: when it breaks, you know exactly which piece broke.
The Problem with the old way
Playwright's old component testing built your components inside the test files themselves. In practice that meant:
- Setup fights: Playwright's build tool often clashed with your app's build setup, and tests broke for reasons unrelated to your test code.
- Messy tests: fake data, props, and wrappers all had to be passed from inside the test, so tests became long and hard to read.
- Developer territory: it needed so much frontend build knowledge that most QA engineers avoided it entirely.
What 1.62 Does
Think of it like this: instead of your test building the component, the component comes ready-made, and your test just opens it. Three steps:
- The developer prepares small demo versions of the component. Each demo is the component in one fixed situation with sample data already filled in, for example "the dropdown with 5 items" or "the dropdown with 0 items". Each demo gets a name. (Playwright calls these demos "stories".)
- All demos live on one special web page. This page is part of your project and can show any demo when asked by name. You set this up once. (Playwright calls this page the "gallery".)
- Your test asks for a demo by name. You write mount('demo name'), and Playwright opens that page, shows that demo, and hands you the element. From there it is a normal Playwright test: click, type, expect. Nothing new to learn.

Example
test('click should expand', async ({ mount }) => {
  // Renders the "Stateful" story of the Expandable component
  const component = await mount('components/Expandable/Stateful');

  await component.getByRole('button').click();
  await expect(component.getByTestId('expanded')).toHaveValue('true');
});
For QA teams: this split is the win. Developers own step 1 and 2 once, and after that you write component tests with the exact Playwright skills you already have. If your team uses Storybook, this will feel very familiar.
4. WebP screenshots
The Problem
PNG snapshots are big. A visual testing suite with hundreds of golden screenshots bloats your repo and slows CI artifact uploads.
What 1.62 Does
Screenshots and visual comparisons now support WebP. Just use a .webp filename. Golden snapshots stay lossless (pixel-exact comparisons still work), and standalone screenshots can use lossy compression for much smaller files.
What is WebP? It is a modern image format made by Google, built for the web. It stores the same picture in far fewer bytes than PNG, and every browser and image viewer today can open it. As a rough idea: a full-page screenshot that is ~1.8 MB as PNG comes out around ~1.1 MB as lossless WebP, and around ~150 KB as lossy WebP at 50% quality. Multiply that by hundreds of snapshots per run and the savings get serious.
Quality comparison
Same screenshot at four quality levels. For most debugging and reporting, 50% is visually fine; keep 100% (lossless) only for golden snapshots used in pixel comparisons.

Example
// Visual comparison, lossless, just change the extension
await expect(page).toHaveScreenshot('homepage.webp');

// Debug screenshot, 50% quality, much smaller file
await page.screenshot({ path: 'checkout.webp', quality: 50 });
5. Reporter.preprocess(): filter tests before the run
The Problem
Say you keep a list of known-flaky tests, in TestDino, a spreadsheet, or an API, and want to auto-skip them in CI until they stabilize. Until now you needed grep hacks or annotations scattered across test files.
What 1.62 Does
Reporters get a new preprocess() hook that runs before any test starts. It can mark individual tests as skipped, excluded, expected-to-fail, or expected-to-pass, from one central place, using any logic or data source you want.
Example
Auto-skip flaky tests using the TestDino API:
class QuarantineReporter {
  async preprocess({ config, suite, testRun }) {
    // Pull the current flaky test list from TestDino.
    const res = await fetch('https://api.testdino.com/v1/tests/flaky', {
      headers: { Authorization: `Bearer ${process.env.TESTDINO_TOKEN}` },
    });
    const flaky = await res.json(); // e.g. list of flaky test titles

    for (const test of suite.allTests()) {
      if (flaky.includes(test.title))
        testRun.skip(test); // quarantined until it stabilizes
    }
  }
}
The result: flaky tests stop blocking your pipeline the moment TestDino flags them, and come back automatically once they stabilize. No annotations to add or remove, no test files to touch.
 Explore Code & Architecture
Want to get your hands on the full, runnable examples from this post and see a complete technical breakdown of the 1.62 release?
Check out our Playwright 1.62 Release Repository on GitHub.
It contains all the standalone test scripts used in this guide, alongside a comprehensive README featuring architectural flowcharts, API migration paths, and in-depth release notes.
Smaller additions, explained properly
Six smaller features that each solve one specific annoyance. Each one is a line or two of code.
1) npx playwright mcp AI tools can now drive your browser, no extra install
The annoyance: Using AI assistants like Cursor or Claude Code with Playwright meant installing and configuring a separate package.
MCP is a standard way for AI assistants to use tools. The Playwright MCP server gives your AI assistant real browser controls: open a page, click, fill forms, read what is on screen. The assistant sees the page as structured text (not screenshots), so it acts reliably. From 1.62 both the MCP server and the new playwright cli ship inside Playwright itself.

# Before: npm install @playwright/mcp, then configure it
# Now: already there
npx playwright mcp
2) locator.waitForFunction() wait for any custom condition on an element
The annoyance: Built-in waits cover visible, enabled, and text content. But sometimes your condition is custom, like "wait until this progress bar reaches 100%" or "wait until this element stops animating".
You write a small function that receives the element. Playwright keeps calling it until it returns true, then your test continues. You could do this before, but only at page level, which meant writing your selector twice and digging through the whole document yourself.
Example 1: wait until the upload progress bar is full
// BEFORE 1.62: page-level, selector duplicated, manual null check
await page.waitForFunction(() => {
  const el = document.querySelector('[data-testid="upload-progress"]');
  return el && el.getAttribute('aria-valuenow') === '100';
});

// WITH 1.62: the locator hands you the element directly
await page.getByTestId('upload-progress')
  .waitForFunction(el => el.getAttribute('aria-valuenow') === '100');
Example 2: wait until an element stops animating. Clicking a button while a modal is still sliding in is a classic source of flaky misclicks. Wait for the animation to finish first:
// BEFORE 1.62: same page-level workaround
await page.waitForFunction(() => {
  const el = document.querySelector('.modal');
  return el && el.getAnimations().length === 0;
});

// WITH 1.62: one readable line, then click safely
await page.locator('.modal').waitForFunction(el => el.getAnimations().length === 0);
await page.getByRole('button', { name: 'Confirm' }).click();
3) apiResponse.timing() see where an API call spends its time
The annoyance: Your API test says a call took 3 seconds. Slow, but slow where? The server? The network? You cannot tell, so the ticket bounces between the backend team and the infra team.
Playwright can call APIs directly in tests (with request.get() and friends). From 1.62, every such response carries a stopwatch breakdown of the call, split into four phases. In plain words:
- DNS: looking up the server's address. Like finding the phone number.
- Connect: dialing and getting through, including the secure handshake.
- Server processing: the gap between "request sent" and "first byte of the answer arrives". This is the server thinking. If your call is slow, it is usually here.
- Download: receiving the full response body.

const response = await request.get('/api/orders');
const t = response.timing();

// Each value is a stopwatch mark in milliseconds.
// Subtract two marks to get the length of a phase:
console.log('server thinking:', t.responseStart - t.requestStart, 'ms'); // 2400
console.log('downloading:',     t.responseEnd - t.responseStart,  'ms'); // 300

// You can even fail the test if the endpoint gets too slow:
expect(t.responseStart - t.requestStart).toBeLessThan(1000);
The last line turns this into a simple performance gate: the moment the orders endpoint takes over 1 second to respond, your CI fails and tells the backend team exactly which phase regressed, with numbers.
One weakness though: that 1000 is a guess. Too strict and it flakes, too loose and it misses real regressions. A better gate compares against how this endpoint usually performs, which needs history from past runs. That is where TestDino fits, since it already stores your timing data run over run:
// Gate against the endpoint's own historical p95 instead of a guess
const baseline = await testdino.baseline('/api/orders'); // e.g. 640ms
expect(t.responseStart - t.requestStart).toBeLessThan(baseline * 1.2);
4) scroll: 'none' stop Playwright from auto-scrolling before a click
The annoyance: Playwright helpfully scrolls an element into view before clicking it. Usually great, but it ruins tests where scroll position is the thing being tested, like sticky headers, infinite scroll, or "load more on scroll".
// Test the sticky header without Playwright scrolling the page
await page.getByRole('button', { name: 'Menu' }).click({ scroll: 'none' });
5) credentials in storageState: reuse passkeys like you reuse cookies
The annoyance: Many teams save login state once and reuse it across tests to skip the login screen. That worked for cookie-based logins, but not for passkeys (the fingerprint or Face ID style login), so passkey apps had to log in fresh every time.
Playwright's virtual passkeys can now be saved into the same storage state file and loaded back in later runs. Log in once, reuse everywhere, even with passkey-only apps.
// Save once, including passkeys
await context.storageState({ path: 'auth.json', credentials: true });

// Reuse in every test
const context = await browser.newContext({ storageState: 'auth.json' });
6) mergeFiles: true group the HTML report by file, permanently
The annoyance: The HTML report has a nice "merge files" toggle that groups results by test file, but you had to click it every single time you opened a report.
// playwright.config.ts, set it once and forget it
reporter: [['html', { mergeFiles: true }]],
Pratik Patel
Co-founder