Playwright with Java: Building a QA Automation Framework Guide
Build a complete playwright java QA automation framework from scratch with Maven, POM, TestNG, and GitHub Actions CI/CD integration.
Most QA teams today are running tests that fire off dozens of browser interactions on every code push, and they need all of it to work reliably without manual babysitting.
The real pain shows up when a framework that worked fine for 20 tests starts crumbling under 200, with flaky results, slow feedback loops, and locators breaking every time a developer renames a CSS class.
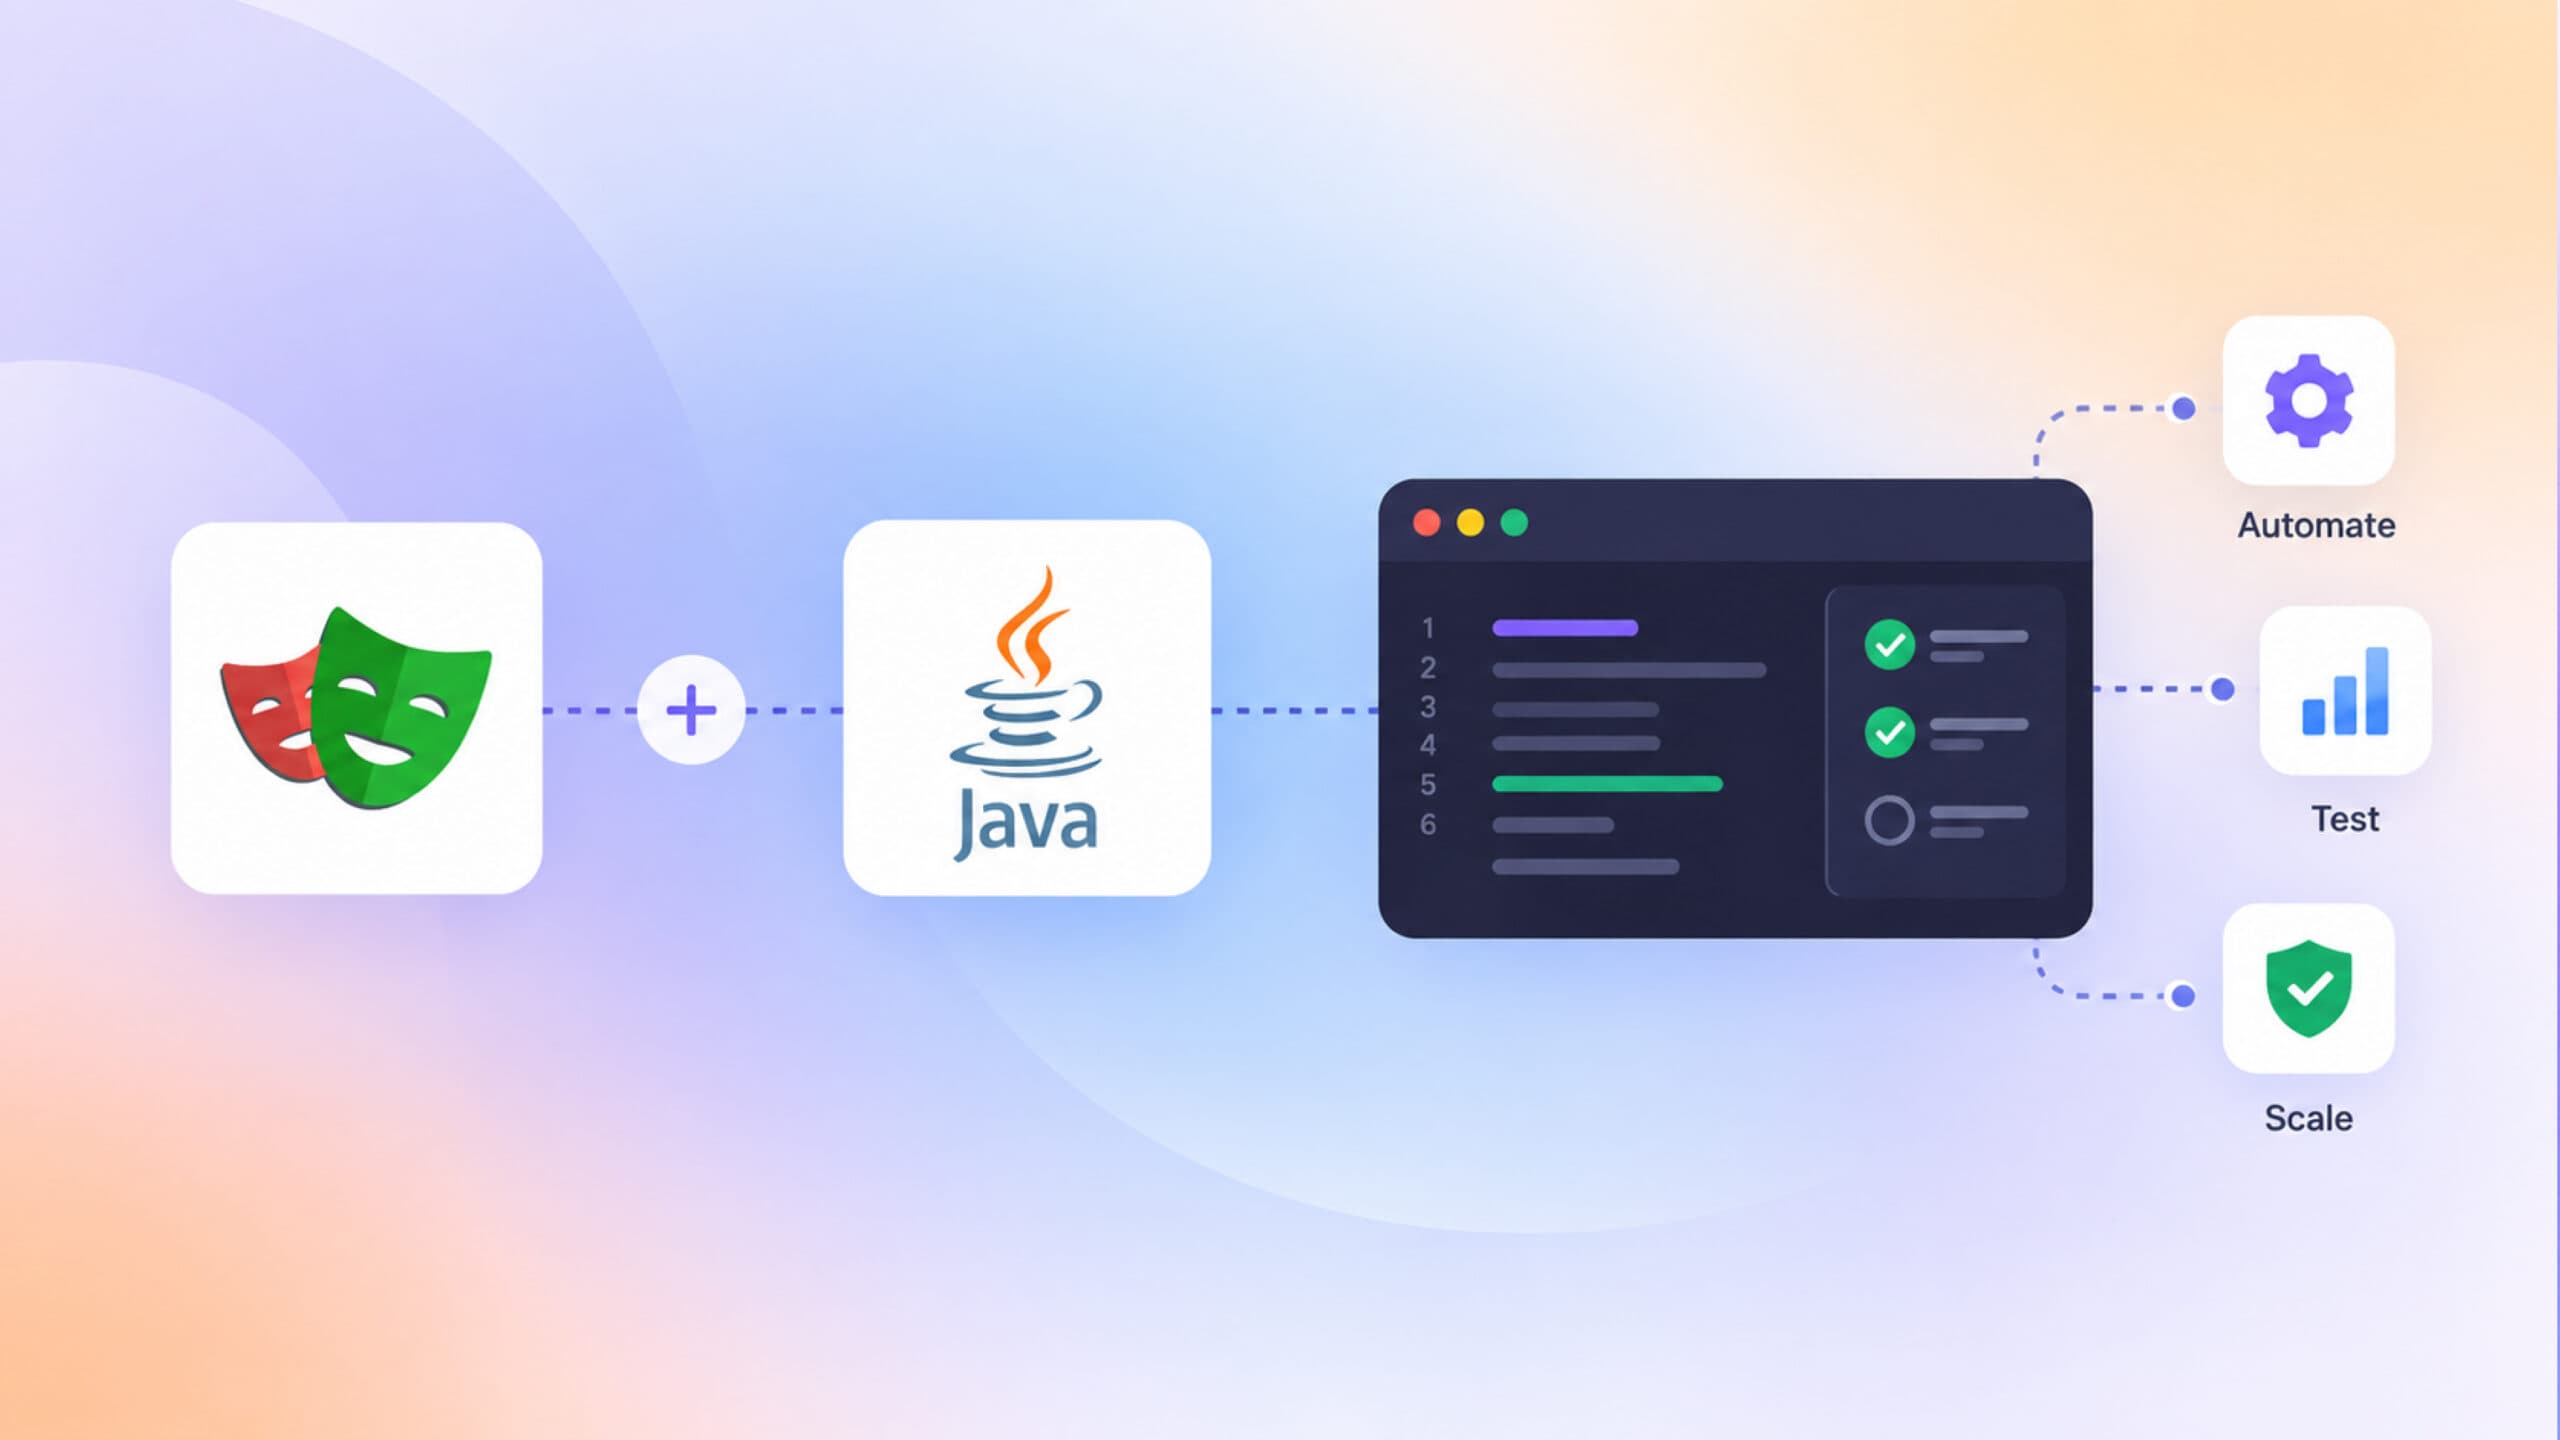
This guide walks you through building a full playwright java automation framework from scratch, covering project setup, the Page Object Model, parallel execution, and CI/CD integration, so your tests stay fast and stable as your product grows.
Why use playwright java for test automation?
Java has been the backbone of enterprise QA for years. Most teams already have Java expertise, existing tooling like Maven and TestNG, and CI pipelines built around the JVM ecosystem. Layering playwright java on top of that foundation gives you modern browser automation without throwing away what already works.
Here is a quick comparison of how the three major automation tools stack up today:
Playwright is an open-source browser automation library maintained by Microsoft. The playwright java binding is the official Java SDK that lets you use all Playwright features through Java code, with full support for Maven and Gradle projects.
If your team is currently on Selenium and thinking about migrating to Playwright, the Java binding makes that transition smoother because the language, toolchain, and testing patterns stay familiar.

Setting up playwright java with Maven
Getting playwright java running takes about five minutes. You need Java 11 or above, Maven 3.8+, and nothing else. Playwright downloads its own browser binaries, so there are no separate WebDriver installations.
Step 1: Create a Maven project
mvn archetype:generate -DgroupId=com.yourcompany.tests \
  -DartifactId=playwright-java-framework \
  -DarchetypeArtifactId=maven-archetype-quickstart \
  -DarchetypeVersion=1.4 \
  -DinteractiveMode=false
Step 2: Add Playwright and TestNG to pom.xml
<dependencies>
    <!-- Playwright Java -->
    <dependency>
        <groupId>com.microsoft.playwright</groupId>
        <artifactId>playwright</artifactId>
        <version>1.45.0</version>
    </dependency>
    <!-- TestNG -->
    <dependency>
        <groupId>org.testng</groupId>
        <artifactId>testng</artifactId>
        <version>7.10.2</version>
        <scope>test</scope>
    </dependency>
    <!-- Allure TestNG for reporting -->
    <dependency>
        <groupId>io.qameta.allure</groupId>
        <artifactId>allure-testng</artifactId>
        <version>2.27.0</version>
        <scope>test</scope>
    </dependency>
</dependencies>
<build>
    <plugins>
        <plugin>
            <groupId>org.apache.maven.plugins</groupId>
            <artifactId>maven-surefire-plugin</artifactId>
            <version>3.3.0</version>
            <configuration>
                <suiteXmlFiles>
                    <suiteXmlFile>testng.xml</suiteXmlFile>
                </suiteXmlFiles>
            </configuration>
        </plugin>
    </plugins>
</build>
Step 3: Install browser binaries
mvn exec:java -e -D exec.mainClass=com.microsoft.playwright.CLI \
  -D exec.args="install --with-deps chromium"
Tip: Install only the browsers you actually need. Installing just Chromium keeps your CI image size small and your pipeline faster. You can always add Firefox or WebKit later.
Building the project structure
A well-organized project structure is what separates a script collection from a real java test automation framework. The goal is to put each concern in its own layer so that when a locator changes, you update one file, not twenty tests.
Here is the recommended directory layout:
playwright-java-framework/
├── src/
│   ├── main/java/com/yourcompany/
│   │   └── (production code, if any)
│   └── test/java/com/yourcompany/
│       ├── base/
│       │   └── BaseTest.java        # Browser lifecycle management
│       ├── pages/
│       │   ├── LoginPage.java       # Page Object classes
│       │   └── DashboardPage.java
│       ├── tests/
│       │   └── LoginTest.java       # Test classes
│       └── utils/
│           ├── ConfigReader.java    # Config/env management
│           └── ScreenshotHelper.java
├── src/test/resources/
│   ├── testng.xml                   # TestNG suite config
│   └── config.properties            # Environment variables
├── .github/workflows/
│   └── playwright-ci.yml            # GitHub Actions workflow
└── pom.xml
Note: Keeping the utils package separate from pages and tests pays off when your team grows. Utility classes like screenshot helpers or config readers get reused across tests without duplication.

The BaseTest class
This is the most important file in your entire framework. It handles creating and closing the browser for every test, and it defines the page object that all your test classes inherit.
package com.yourcompany.base;
import com.microsoft.playwright.*;
import org.testng.annotations.AfterMethod;
import org.testng.annotations.BeforeMethod;
public class BaseTest {
    protected Playwright playwright;
    protected Browser browser;
    protected BrowserContext context;
    protected Page page;
    @BeforeMethod
    public void setUp() {
        playwright = Playwright.create();
        browser = playwright.chromium().launch(
            new BrowserType.LaunchOptions().setHeadless(true)
        );
        context = browser.newContext(
            new Browser.NewContextOptions()
                .setViewportSize(1280, 720)
                .setRecordVideoDir(java.nio.file.Paths.get("target/videos/"))
        );
        page = context.newPage();
    }
    @AfterMethod
    public void tearDown() {
        context.close();
        browser.close();
        playwright.close();
    }
}
A BrowserContext in playwright java acts like a clean browser profile. Each context gets its own cookies, local storage, and session, which makes it ideal for running tests in parallel without interference.
Notice we use browser.newContext() rather than browser.newPage() directly. This gives each test its own isolated environment, which is the correct pattern for a java test automation framework that will eventually run tests in parallel.
Implementing the Page Object Model
The Page Object Model (POM) is how you keep your playwright java tests from turning into one giant pile of selectors and assertions. Each page in your app gets its own Java class. That class owns all the locators and actions for that page. Your tests just call the methods.
Tip: Name your Page Object methods after what the user does, not what the UI element is. loginAs(username, password) is cleaner than fillUsernameField(username); fillPasswordField(password); clickLoginButton().
Here is a complete LoginPage example:
package com.yourcompany.pages;
import com.microsoft.playwright.Page;
import com.microsoft.playwright.Locator;
public class LoginPage {
    private final Page page;
    // Locators
    private final Locator usernameField;
    private final Locator passwordField;
    private final Locator loginButton;
    private final Locator errorMessage;
    public LoginPage(Page page) {
        this.page = page;
        this.usernameField = page.locator("[data-testid='username']");
        this.passwordField = page.locator("[data-testid='password']");
        this.loginButton = page.locator("[data-testid='login-btn']");
        this.errorMessage = page.locator(".error-alert");
    }
    public void navigateTo(String baseUrl) {
        page.navigate(baseUrl + "/login");
    }
    public void loginAs(String username, String password) {
        usernameField.fill(username);
        passwordField.fill(password);
        loginButton.click();
    }
    public String getErrorMessage() {
        return errorMessage.textContent();
    }
    public boolean isLoginButtonVisible() {
        return loginButton.isVisible();
    }
}
Note: Prefer data-testid attributes as selectors when possible. They are stable, not affected by CSS or layout changes, and signal clearly to developers that the attribute is used by tests. TestDino's guide on playwright best practices covers this in depth.
And here is the DashboardPage, showing how a second page object chains with the first:
package com.yourcompany.pages;
import com.microsoft.playwright.Page;
import com.microsoft.playwright.Locator;
public class DashboardPage {
    private final Page page;
    private final Locator welcomeBanner;
    private final Locator logoutButton;
    public DashboardPage(Page page) {
        this.page = page;
        this.welcomeBanner = page.locator("[data-testid='welcome-msg']");
        this.logoutButton = page.locator("[data-testid='logout']");
    }
    public String getWelcomeMessage() {
        welcomeBanner.waitFor();
        return welcomeBanner.textContent();
    }
    public void logout() {
        logoutButton.click();
    }
}
TestDino has a dedicated deep-dive on playwright page object model patterns if you want to explore advanced variations like lazy initialization and component-level page objects.

Writing and running your first playwright java tests
With the base class and page objects in place, writing tests becomes straightforward. The test class has one job: arrange the scenario, call the page object, and assert the result.
package com.yourcompany.tests;
import com.yourcompany.base.BaseTest;
import com.yourcompany.pages.LoginPage;
import com.yourcompany.pages.DashboardPage;
import org.testng.Assert;
import org.testng.annotations.Test;
public class LoginTest extends BaseTest {
    private static final String BASE_URL = "https://your-app.com";
    @Test(description = "Valid login navigates to dashboard")
    public void validLoginShowsDashboard() {
        LoginPage loginPage = new LoginPage(page);
        loginPage.navigateTo(BASE_URL);
        loginPage.loginAs("[email protected]", "SecurePass123");
        DashboardPage dashboard = new DashboardPage(page);
        String welcome = dashboard.getWelcomeMessage();
        Assert.assertTrue(welcome.contains("Welcome"),
            "Dashboard welcome message should be visible after login");
    }
    @Test(description = "Invalid credentials show error message")
    public void invalidLoginShowsError() {
        LoginPage loginPage = new LoginPage(page);
        loginPage.navigateTo(BASE_URL);
        loginPage.loginAs("[email protected]", "wrongpassword");
        String error = loginPage.getErrorMessage();
        Assert.assertEquals(error, "Invalid username or password.");
    }
}
Tip: Playwright's auto-waiting means you rarely need Thread.sleep() or manual explicit waits. Every action like click() and fill() automatically waits for the element to be visible, enabled, and stable before acting.
Run this test from your terminal with:
mvn test -Dsurefire.suiteXmlFiles=testng.xmlYou can also use Playwright's built-in tracing feature to record a full execution trace for debugging. When a test fails in CI, a trace file lets you replay exactly what happened in the browser, down to every network request.
@BeforeMethod
public void setUp() {
    // ... existing setup code ...
    context.tracing().start(new Tracing.StartOptions()
        .setScreenshots(true)
        .setSnapshots(true)
        .setSources(true)
    );
}
@AfterMethod
public void tearDown(ITestResult result) {
    if (result.getStatus() == ITestResult.FAILURE) {
        context.tracing().stop(new Tracing.StopOptions()
            .setPath(Paths.get("target/traces/" + result.getName() + ".zip"))
        );
    }
    context.close();
    browser.close();
    playwright.close();
}
Note: Saving traces only on failure keeps your storage under control. The trace viewer at trace.playwright.dev opens these zip files directly in your browser with no install needed.
Teams that invest in proper tracing spend far less time on test failure analysis because the root cause is visible in the recording, not buried in log lines.
Running tests in parallel and integrating with CI/CD
Parallel execution is where a playwright java framework starts paying dividends. Each test gets its own BrowserContext, so they run independently without sharing state. The TestNG XML configuration wires everything together.
TestNG parallel config
<!DOCTYPE suite SYSTEM "https://testng.org/testng-1.0.dtd">
<suite name="PlaywrightSuite" parallel="methods" thread-count="4" verbose="1">
    <test name="LoginTests">
        <classes>
            <class name="com.yourcompany.tests.LoginTest"/>
        </classes>
    </test>
    <test name="DashboardTests">
        <classes>
            <class name="com.yourcompany.tests.DashboardTest"/>
        </classes>
    </test>
</suite>
Parallel methods in TestNG means each @Test method runs in its own thread simultaneously. Combined with playwright java's BrowserContext isolation, each method gets a clean browser session with no shared state.
GitHub Actions workflow
name: Playwright Java Tests
on:
  push:
    branches: [main, develop]
  pull_request:
    branches: [main]
jobs:
  test:
    runs-on: ubuntu-latest
    steps:
      - name: Checkout code
        uses: actions/checkout@v4
      - name: Set up Java 17
        uses: actions/setup-java@v4
        with:
          java-version: '17'
          distribution: 'temurin'
      - name: Cache Maven packages
        uses: actions/cache@v4
        with:
          path: ~/.m2/repository
          key: ${{ runner.os }}-maven-${{ hashFiles('**/pom.xml') }}
      - name: Install Playwright browsers
        run: mvn exec:java -e -D exec.mainClass=com.microsoft.playwright.CLI \
             -D exec.args="install --with-deps chromium"
      - name: Run tests
        run: mvn test
      - name: Upload test results
        if: always()
        uses: actions/upload-artifact@v4
        with:
          name: test-reports
          path: target/surefire-reports/
          retention-days: 7
      - name: Upload traces on failure
        if: failure()
        uses: actions/upload-artifact@v4
        with:
          name: playwright-traces
          path: target/traces/
Tip: Cache your Maven dependencies and Playwright browser binaries in CI. On a cold run, downloading Chromium can add two to three minutes. Caching those artifacts cuts that time to under ten seconds on subsequent runs.
TestDino's guide on running Playwright tests in GitHub Actions covers matrix strategies, sharding by test file, and managing secrets for authenticated test environments.

Test reporting and observability
Test results that nobody reads are useless. A good java test automation framework produces reports that developers, QA leads, and product managers can all interpret quickly.
Allure reporting with TestNG
Add these to your pom.xml and run mvn allure:report after your test run:
<plugin>
    <groupId>io.qameta.allure</groupId>
    <artifactId>allure-maven</artifactId>
    <version>2.12.0</version>
    <configuration>
        <reportVersion>2.27.0</reportVersion>
    </configuration>
</plugin>
Run it with:
mvn test allure:reportAllure generates an interactive HTML dashboard that shows test history, failure trends, and step-by-step breakdowns for each test. When your playwright java suite grows past a hundred tests, that kind of visibility becomes non-negotiable.
Note: Allure annotations like @Step and @Attachment let you embed screenshots directly into the report. Teams that add these to their page object methods get significantly better failure context without extra debugging effort.
What to track beyond pass or fail
A raw pass/fail count tells you almost nothing about the health of your framework. The metrics that actually matter for a mature test automation setup are:
- Flakiness rate per test over the last 30 runs
- Average test duration and slowest test by file
- First-failure time in your CI pipeline
- Test coverage by feature area, not just line coverage
Platforms like TestDino sit on top of your existing Playwright reports and give you these metrics automatically, flagging tests that are trending toward flakiness before they start causing pipeline disruptions.
Handling flaky tests in your framework
Flaky tests are one of the biggest obstacles to trusting a java test automation framework. They pass sometimes, fail sometimes, and usually for no obvious reason. The three most common causes in playwright java projects are:
- Race conditions from missing waits. Fix this by using locator.waitFor() explicitly on elements that animate in.
- Shared state across parallel tests. Fix this by ensuring every test uses its own BrowserContext.
- Network timing on slow CI machines. Fix this by setting appropriate timeouts in your config.
context = browser.newContext();
page = context.newPage();
page.setDefaultTimeout(30000);        // 30 seconds for all actions
page.setDefaultNavigationTimeout(60000); // 60 seconds for navigation
The playwright automation checklist at TestDino covers a full list of framework-level settings that prevent flakiness from creeping into your suite as it scales.
Conclusion
Building a playwright java automation framework is not just about making tests run. It is about building a system that your whole team can trust, maintain, and extend without friction.
The core of what makes a java test automation framework production-ready comes down to a few principles:
- Clean separation between base setup, page objects, and test logic
- Browser context isolation for every test
- Parallel execution from day one, not as an afterthought
- Traces and screenshots saved on failure for fast debugging
- CI integration that runs on every pull request
Playwright java gives you the tools. The framework design decisions you make early, especially around the BaseTest class and Page Object structure, are what determine whether your automation suite scales from 10 tests to 1,000 without becoming a maintenance nightmare.
If you want to go deeper on any of these areas, TestDino has dedicated guides on playwright framework setup, playwright sharding for parallel CI, and playwright vs selenium to help you make informed decisions at each layer of your stack.
FAQs

Pratik Patel
Co-founder